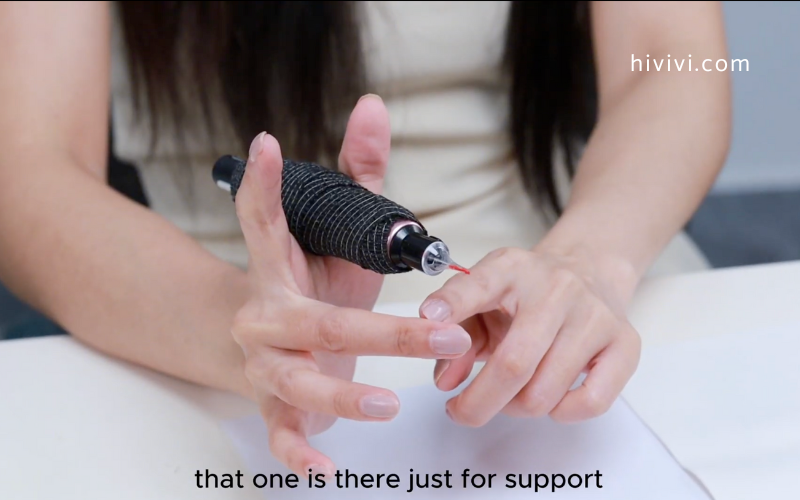
Whether you’re fresh on your beauty journey or leveling up your skills, learning how to use a PMU machine for lip tinting is a total game-changer. It’s not just about mastering a tool it’s about creating confident, radiant smiles that stay. Let’s walk through everything you need to know to start tinting lips like a pro (minus the stress).
What Even Is PMU Lip Tinting?
Think of PMU (Permanent Makeup) lip tinting like a glow-up for your lips that doesn’t wipe off. Using a special PMU machine, you gently deposit pigment into the skin to enhance the lips’ natural tone, shape, and fullness.
Instead of reaching for lipstick every morning, clients wake up with naturally flushed, perfectly defined lips and they last for years. It’s kiss-proof, coffee-proof, and confidence-boosting.
But here’s the key: gorgeous, long-lasting results only happen when you feel confident with your PMU machine and know how to use it safely and skillfully. Let’s get into the tools, the technique, and all the pro tips.

Must-Have Tools for Lip Tinting
Essential PMU lip tinting tools including needle cartridges, pigment rings, gloves, and numbing cream.
Ready to build your beauty toolkit? Here’s what you’ll need to get started:
- PMU Machine
- Choose your weapon rotary, digital, or pen-style.
- Pen-style is beginner-friendly, lightweight, and comfy in the hand.
- Needle Cartridges
- 1RL / 3RL: For outlining those crisp lip borders
- 3RS / 5RS: For dreamy, blended shading
- Make sure they’re single-use and sterile
- Pigments
- Lip-safe only. Stick to trusted brands
- Match the shade to your client’s undertones for a natural pop
- Skip pigments with high titanium dioxide (they can go chalky over time)
- Other Essentials
- Topical numbing cream (ideally with epinephrine)
- Gloves, cotton pads, pigment rings
- Machine sleeves and surface protection
How to Set Up a PMU Machine for Lip Tinting
Time to prep like a pro. Clean, organized setups lead to calm energy and happy clients.
- Unpack and Sanitize
- Wash your hands and disinfect your station
- Sanitize your machine and prep your workspace
- Assemble Needle Cartridge
- Insert and align the needle correctly
- Make sure it’s locked in and ready
- Connect Your Machine
- Plug it in, set up your foot pedal if needed, and get things going
- Dial In Your Voltage
- Start between 6.0V – 7.5V
- Lower voltage gives more control, which is great for soft lips
- Final Check
- Gloves on?
- Needle moving properly?
- Area clean and organized?
Learn more from Hivivi’s expert tips on how to use a PMU machine for lip tinting.
How to Actually Tint Lips (Step-by-Step)
Let’s break it down into steps so you can feel confident with every pass.
1. Client Prep
- Talk about pigment and shape
- Clean the lips thoroughly
- Apply numbing cream (wait 15 – 20 minutes)
- Wipe and outline if needed
2. First Pass Outline
- Use 1RL or 3RL to define the lip border
- Go slow and steady
- No pressing too hard
3. Second & Third Passes – Fill and Shade
- Switch to 3RS or 5RS
- Build color gradually
- Let the skin rest between passes if needed
4. Artist Tips
- Keep hand pressure steady
- Stretch the skin for smoother results
- Use small circular or pendulum strokes when shading
5. Aftercare
- Gently wipe and apply healing balm
- Advise no spicy food, kissing, or lip products for a few days
- Offer a written care sheet for clients to take home
Rookie Mistakes to Avoid
Here’s what to watch out for, especially if you’re new:
- Wrong needle for the job
- Overworking the skin (hello trauma and poor healing)
- Voltage too high
- Choosing pigment without checking undertones
- Poor hygiene or setup shortcuts
How to Practice Lip Tinting (Without a Real Client)
If you’re just starting out, don’t jump straight into real skin. Practice on latex sheets; they’re perfect for building technique.
Start with clean outlines, then work on pressure and shading. The more you practice, the more confident your hand becomes. You’ll begin to know how the machine feels, how deep to go, and how to keep things consistent.
Take your time. Progress comes with every session.
Tip: Structured beginner kits from providers like Hivivi can really speed up your learning.
Pro-Level Lip Tinting Tips
Once you’re past the basics, here are some ways to take your work from good to gorgeous:
- Color-correct before layering, especially for cool-toned or melanin-rich lips
- Let the skin rest between layers
- Educate your client on what to expect during healing
- Plan for a second session in 6 – 8 weeks for the best final result
Great tools and smart technique will always elevate your results.
PMU Lip Tinting FAQ
What voltage should I use?
Start between 6.0V–7.5V depending on your machine and technique.
Can beginners try PMU lip tinting?
Yes, just start with proper training and practice on latex first.
How deep should the needle go?
About 1mm, just to the upper dermis.
How long does PMU lip tinting last?
Typically 2–3 years, with annual touch-ups if needed.
Is it painful?
Most clients feel only mild discomfort, especially with a good numbing cream.
Final Thoughts: Start Bold, Start Beautiful
Learning how to use a PMU machine for lip tinting is more than just a technical skill, it’s an art. With every pass, you’re giving someone confidence, expression, and long-lasting beauty. So whether you’re practicing on latex or prepping for your first client, remember: everyone starts somewhere. Keep learning, keep refining, and trust yourself to grow. Need beginner-friendly tools or training kits?