If you’ve ever scrolled past a photo of someone with a cute word hidden inside their lip and thought, “Whoa, that’s bold,”you’re not alone. Inner lip tattoos are edgy, intimate, and strangely delicate for something that sounds kinda tough.
Whether you’re just fascinated or seriously thinking about getting one (or offering it as a service someday), I’ve gathered everything you need to know about how to tattoo the middle and inner lip without diving into pro-only jargon. Let’s keep it real and relatable.
Why the Inner Lip Is So Tricky (And Special)
Here’s the thing: the middle and inner lip are nothing like the outer lip line you might be used to seeing with regular lip blushing. This area is…
- Super soft and always moist
- Packed with blood vessels
- Quick to heal and just as quick to fade
- A little rebellious when it comes to holding pigment
Because of that, tattooing this spot takes a gentler hand and way more patience. It’s not impossible, it just requires a slightly different vibe.
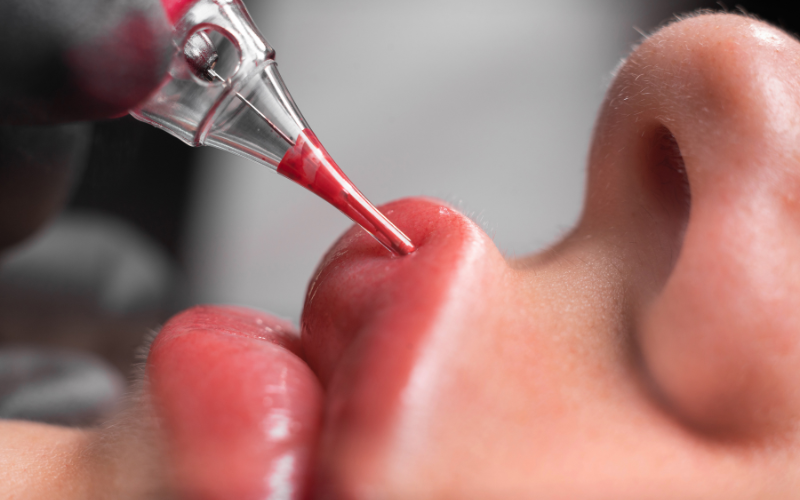
Tattooing the inner lip requires a softer approach and precise control.
What Tools Are Usually Used?
Even though you might not be tattooing yourself, it’s cool to know what goes into it. For anyone doing the work, here’s the lowdown:
- Machine settings: Low and slow is the way to go (usually around 6.0–7.0 volts)
- Needles: Small groupings like 1RL or 3RL work best think fine and precise
- Pigments: Warm, rich shades like coral or rose hold up better. No watery stuff!
Fun fact: This area tends to fade faster, so color choice really matters.
How the Tattooing Process Actually Goes Down
Let’s walk through it, step by step no complicated lingo, just the vibe of what to expect.

Marking the zone: small, safe, and just enough to peek through.
1. Prepping Comes First
The artist will clean and numb the area (because ouch), and maybe use a lip guard to help with stretching. You’ll be asked to keep your lips gently parted, no puckering, no pressure.
2. Marking the Area
They’ll sketch a small outline inside the lip (usually with a white pencil) to stay within the safe zone. Nothing too far back just enough to peek out when you part your lips slightly.
3. Time to Tattoo
Using soft strokes, they’ll go over the area gently, usually just a couple of passes to avoid irritating the skin. This part is all about control not speed.
4. Checking the Color
Between passes, they’ll pause, let the pigment settle, and make sure it’s building up evenly. More color can always be added later, better safe than sore!
A good artist will stretch the lip slightly to get smooth coverage. It helps the color go in and stay put.
Mistakes That Can Mess Things Up
Here’s what can go wrong (and why skilled hands matter):
- Too many passes = trauma
- Wrong needle = damage
- Tattooing too deep = blowout or quick fading
- Not stretching the lip = patchy pigment
- High speed = ouch and uneven color
Basically, if it looks rushed or rough it probably won’t heal well.
Hivivi breaks it down step-by-step in this article on how to tattoo the middle and inner lip safely.
Healing: What It Feels Like and How to Deal
Inner lip tattoos heal differently than outer lip tattoos because the area moves constantly. Think eating, talking, sipping, etc.
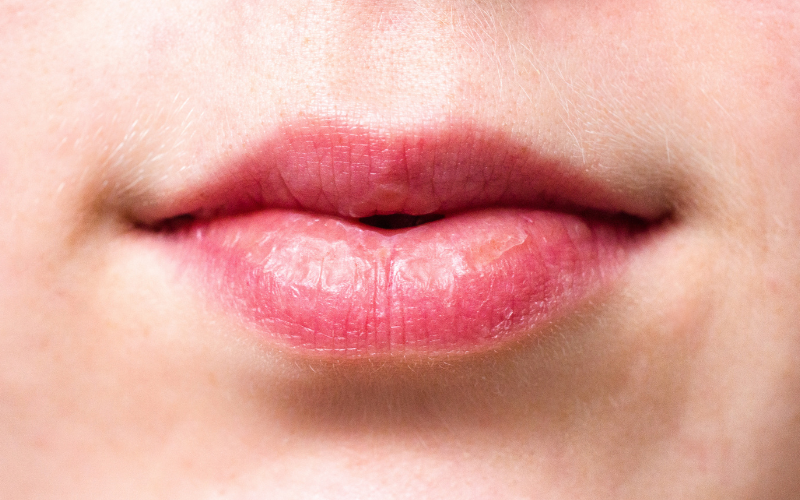
Healing inner lips: slight peeling and tenderness are totally normal.
Here’s what usually happens:
- Swelling in the first 1–2 days
- Some redness or tenderness
- Peeling might start around day 3
- Full results show up in 4–6 weeks
Aftercare Basics:
- Rinse gently with water or saline 2–3 times a day
- Avoid spicy, hot, or sour foods for at least 2 days
- No smoking, kissing, or lip makeup while healing
- Don’t pick at peeling skin
- A thin balm might help (check with your artist first!)
Fading is normal, so don’t freak out. A touch-up after 6–8 weeks is totally expected.
Want It to Last Longer? Here’s the Secret
Long-lasting results = good technique + good aftercare. A few pro-level tips (even if you’re not a pro):
- Don’t rush slow and steady wins this race
- Practice on synthetic skin before working on real lips (if you’re a learner)
- Watch how each person’s lip reactsevery lip is unique
- Check in on healed results and tweak things over time
Honestly? Confidence comes with practice and a gentle touch.
Final Thoughts
Tattooing the inner lip might sound wild, but it’s more delicate than you’d think. Whether you’re getting it done or just curious about the process, one thing’s clear: this isn’t your everyday beauty treatment.
But done right, it’s bold, fun, and totally personal. Just remember don’t rush, trust the process, and take care during healing.
FAQs: Tattooing the Middle & Inner Lip
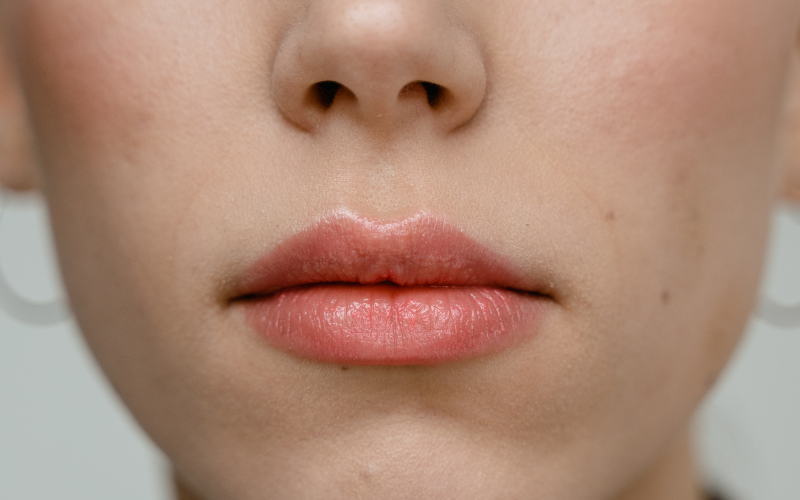
Great technique and gentle aftercare = longer-lasting results.
Is it safe?
Yes, as long as it’s done by someone trained with clean tools and proper technique.
Why doesn’t the pigment stay easily?
The inner lip is moist and renews skin faster. That makes pigment retention trickier.
What colors work best?
Warm tones like coral or rose usually stay better than cooler shades.
How long does it take to heal?
Initial healing is about a week, but full results settle after 4–6 weeks.
Can I eat right after?
Yes, but skip spicy or hot food for at least two days and drink with a straw.