Let’s be honest – learning how to draw lip shape on latex can feel like a lot at first. All those tiny curves, the pressure to get it symmetrical, and figuring out what tools to even use? Yep, it can be overwhelming. But here’s the thing: once you break it down and practice the right way, it turns into something kind of… calming? Like your pre-glam ritual before the magic happens.
Whether you’re just stepping into the PMU world or leveling up your technique, this guide has your back. We’ll walk through step-by-step how to sketch those perfect lips on latex, share must-have tools, and throw in some pro tips (and oops-proof advice) so you can get it right without the pressure of real skin.
Why Practicing on Latex Is a Total Game-Changer
Before you go anywhere near a client’s lips, practicing on latex helps you:
- Build hand control and muscle memory
- Understand symmetry and lip proportions
- Get comfy with all kinds of lip shapes
Latex practice skins are designed to mimic the texture of real skin, which makes them ideal for newbies and pros alike. You’ve got options too: blank latex for freestyle sketching, or printed latex sheets with pre-drawn lip outlines if you want a guided start.
Practicing lip shape sketching on blank latex pad helps improve hand control and symmetry.
Your PMU Lip Drawing Toolkit
Here’s your beginner-friendly starter pack for drawing on latex:
- Flat or 3D latex skin (with or without printed lip guides)
- PMU lip pencil or fine-tip skin-safe marker
- Ruler, caliper, or BB compass (for getting those proportions on point)
- Q-tips or makeup sponges (especially if you’re into SFX or liquid latex)
- Inspo pics of real lips or PMU maps
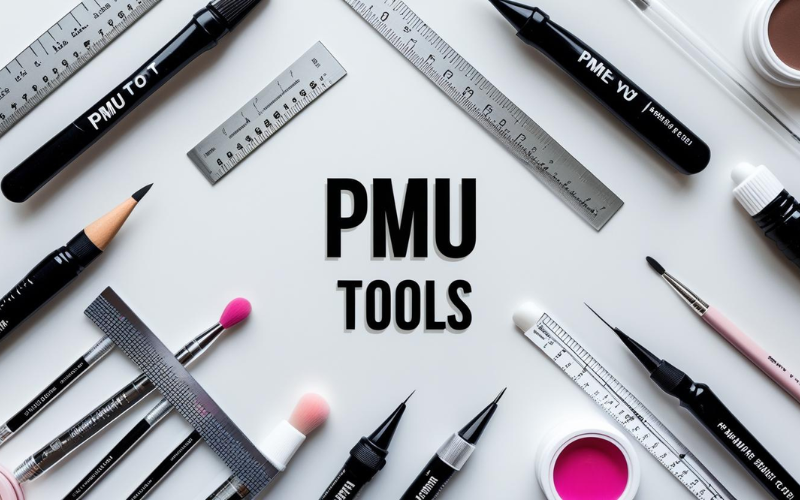
PMU lip mapping tools including ruler, pencil, latex sheet, and Q-tips laid out for beginners.
How to Draw Lip Shape on Latex: Step-by-Step
- Step 1: Prep Your Latex Canvas
Start with a clean, dry latex sheet. If it’s slipping around, tape it down or use a non-slip mat to keep things steady. - Step 2: Draw the Center Line
Use a ruler or caliper to draw a straight vertical line down the center. This will keep your symmetry in check throughout.
Using a ruler to draw the center line on latex ensures lip shape balance in PMU practice.
- Step 3: Sketch the Cupid’s Bow
Mark two small dots at the peaks of the cupid’s bow, then connect them with a soft curve. This is the crown jewel of the upper lip. Take your time with it. - Step 4: Extend the Upper Lip
From each cupid’s bow peak, draw smooth lines curving out to the corners of the mouth. Keep both sides even if your mirror game matters here! - Step 5: Shape the Bottom Lip
Start from the center of the bottom lip and arc out to the corners. The bottom lip should feel a little fuller, but still balanced with the top. - Step 6: Double-Check & Clean Up
Use your ruler again to check width and height. If something looks off, don’t stress, just erase and fix it up. Aim for a clean, natural-looking outline.
Real Talk: How to Make Your Lips Look Natural (Not Cartoonish)
- Get familiar with lip anatomy (yes, it helps!)
- Look at real lips-clients, selfies, inspo pics
- Practice curved lines and layering strokes for depth
- Switch things up: draw thin lips, pouty lips, uneven lips
Rookie Mistakes to Dodge
- Skipping the center line → hello, uneven lips
- Overdrawing the border → unnatural, drag-ish vibes (unless that’s your style!)
- Pressing too hard → damages your latex sheet
- Forgetting to check proportions → imbalance alert
Side-by-side lip sketches on latex showing the difference between correct and uneven outlines.
Take your time, and don’t rush the process. It’s practice, not a performance.
Your Glow-Up: From Lip Sketches to Real Results
Confidence doesn’t come from one perfect drawing it’s all about consistent practice. Try this:
- Use printed guides to sharpen your speed
- Record yourself drawing to tweak hand angles
- Challenge yourself with tricky shapes or your non-dominant hand
Next Level: Try Lip Tinting on Latex
Feeling good with outlines? Awesome. Time to dip your toes into shading and coloring. Start using your PMU machine and test your lip blush skills still on latex, of course.
Learning how to draw lip shape on latex is the foundation of becoming a confident, skilled PMU artist. Don’t stress the imperfections – every sketch gets you closer to your signature style. Keep it fun, keep it flowing, and trust the process.
You’ve got the hands. Now build the habit.
Need tools to slay your practice game? Head to Hivivi and check out their hand picked PMU starter kits and tutorials that totally get what beginners need.
FAQ: PMU setup, simplified
How often should I replace PMU cartridges?
Every single time. Cartridges are single-use only always swap them out between clients (and practice sessions too!).
What voltage should I use for brows?
Somewhere between 6.5V and 8V is usually perfect. Start low and adjust if needed based on skin type and pigment flow.
Can I use my PMU machine without a foot pedal?
Yes! Many modern PMU machines have built-in buttons or touch functions. A foot pedal just gives you extra control but it’s optional.
Do I really need to wrap the machine?
Yes, yes, yes. Wrapping helps keep everything hygienic, prevents cross-contamination, and shows clients that you take safety seriously.
What if my machine doesn’t run smoothly?
Double-check your power source, voltage setting, and cartridge placement. If it still feels off, try testing with a different cartridge or reach out to your trainer for help.